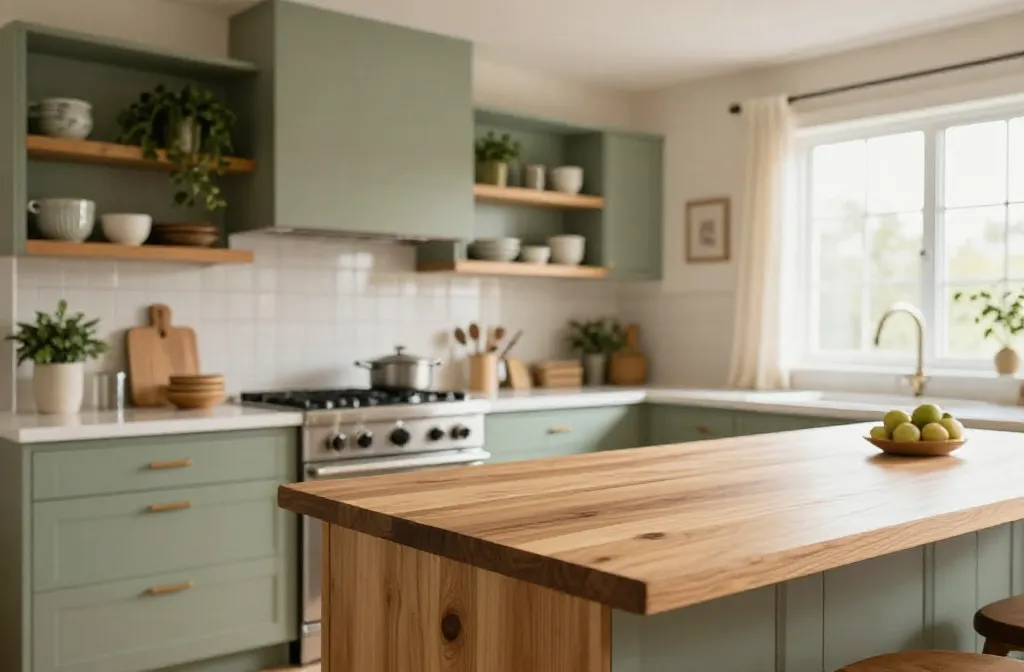
12 Green and Wood Kitchen Ideas for Your Cozy Home

Are you tired of kitchens that look like a sea of chrome and glass, lacking warmth and personality? If the space feels clinical or commercial, you’re not alone. A kitchen that leans into green tones and natural wood can soften the room, bring in a sense of calm, and still stay incredibly functional for everyday cooking and gathering with family. The right balance of organic color, texture, and practical storage can transform how you feel when you step in to prep, cook, or chat with guests.
These 12 green and wood kitchen ideas offer practical, measurable steps you can take. They prioritize real-life usability—clear walking paths, proper work triangle spacing, and smart storage—while bringing the softness of green and the warmth of wood into the heart of your home. Each concept is distinct, so you can mix and match elements or commit to a full kitchen concept that aligns with your space and budget. Keep reading to discover how to recreate these looks in your own home.
Why Green and Wood Kitchen Ideas Works
Green softens the metallic glare of appliances and brightens dull corners, while wood anchors the room with natural warmth. These concepts emphasize scale, contrast, and texture to keep the space visually interesting without feeling chaotic. With clear placement ideas and achievable budgets, you’ll see why this combination is both stylish and practical in real kitchens.
Each concept uses grounded palettes, practical layouts, and durable materials that you can maintain with regular cleaning and simple DIY tweaks. The result is a kitchen that supports cooking and entertaining, and ages gracefully as your needs evolve.
Now let’s explore 12 distinct green and wood kitchen ideas, each with its own room concept, measurements, shopping list, budget, and a clear warning of what to avoid.
1. Sage Green Studio Kitchen with Open Shelving
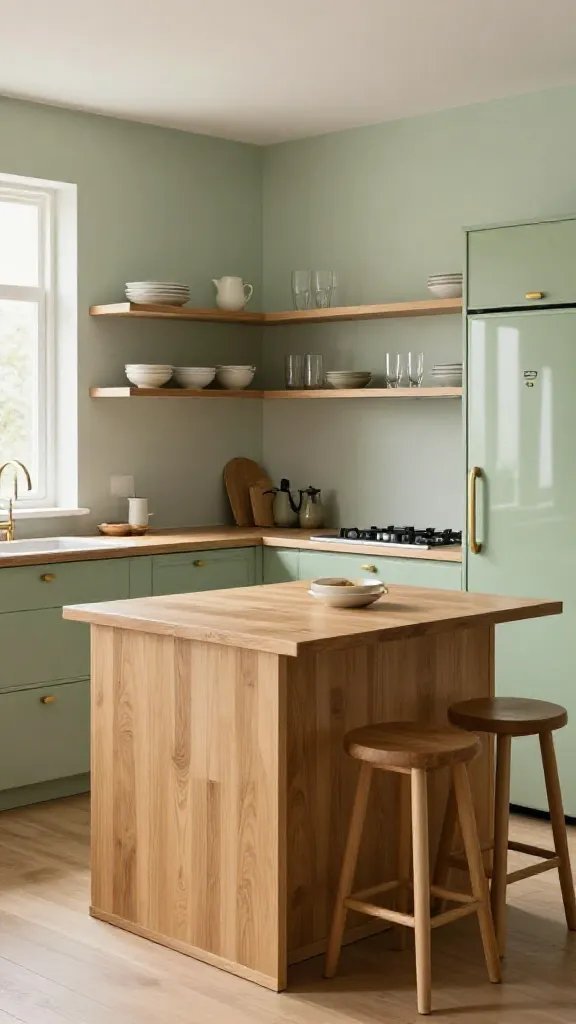
Overview: A compact kitchen designed to feel larger through light sage walls, a pale wood island, and open shelving that draws the eye upward. The layout places the sink, stove, and fridge in a straight line to maximize counter space, while the island acts as a casual prep area and a breakfast spot.
Why This Design Works
Open shelves reduce visual weight while giving easy access to everyday dishes. Sage green walls pair with warm oak countertops and a softly stained island, creating a calm, cohesive vibe. The light hue makes small kitchens feel more expansive and less enclosed.
Layout & Furniture Placement
Workbench counter height at 36 inches on the main work wall; island at 34-36 inches high with two stools; maintain a 42-inch walkway between island and wall cabinets for comfortable traffic flow.
Color Palette
Primary: sage green; Secondary: warm oak; Accent: brass hardware; Subtle contrast with off-white ceiling and back-splash tile in a light, neutral pattern.
Materials & Textures
Oak island, matte sage paint, ceramic or porcelain tile backsplash with subtle linear grout, natural fiber bar stools.
What You’ll Need
- 36-inch-wide island in warm oak finish
- Open-shelving units in oak or painted to match walls
- 2 compact pendant lights over the island
- 16×20-inch area rug or floor runner (under the seating area)
- Stainless steel sink with brass-tone faucet
Shopping List
- Oak or ash butcher-block countertop material
- Matte sage wall paint
- Brass or warm-metal cabinet hardware
- Two lightweight bar stools in warm wood
- White or cream ceramic tile backsplash
Estimated Budget
Estimated Budget: Around $1,200-$2,400 depending on whether you replace countertops and add new shelving.
What to Avoid
What to Avoid: Overloading shelves with heavy items that visually weigh the room; keep items grouped in small clusters for a lighter look.
Design Highlights
Low-profile lighting and a restrained color palette maintain openness; the island serves as a social hub without crowding the space.
2. Forest Green Pantry Nook with Floating Cabinets
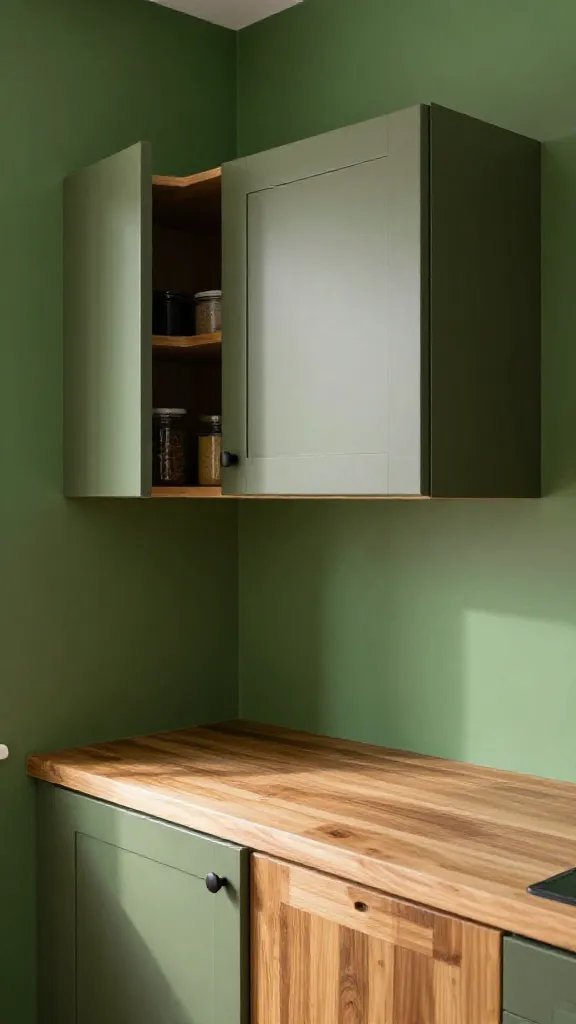
Overview: A cozy knife-of-green pantry nook tucked into a corner, with floating, softly stained cabinets and a compact butcher-block work surface. The lower cabinetry is in a warm wood tone, while the walls glow in a saturated forest green that reads as a backdrop for natural textures.
Why This Design Works
Floating cabinets visually lighten the space and create a sense of airiness in a pantry or pass-through area. The green surfaces hide fingerprints and dirt, while wood tones bring warmth and balance.
Layout & Furniture Placement
Install two rows of floating 12- to 14-inch-deep cabinets on a 7–8-foot wall with 18 inches of clearance to pass by. A 24-inch-deep cart or slim island can serve as the prep station.
Color Palette
Forest green walls, warm beech or walnut cabinetry, white quartz countertop, brass accents.
Materials & Textures
Open oak shelves, matte paint, natural stone or quartz countertop, woven baskets for storage.
What You’ll Need
- Floating wall cabinets (12-14 inches deep)
- Open shelving in matching wood
- Compact 24-inch cart or island
- Forest green wall paint
- White quartz countertop
Shopping List
- Beige or light gray floor tiles or durable vinyl planks
- Brass cabinet handles
- Woven baskets in natural fibers
Estimated Budget
Estimated Budget: Around $900-$1,800 for a small pantry refresh and cabinetry details.
What to Avoid
What to Avoid: Overloading with busy patterns on the walls that compete with green; keep the wall color dominant and simple.
Design Highlights
Floating cabinets give the illusion of more space, while the natural wood adds texture that makes the room feel built-in rather than added on.
3. Sage Green Island with Dark Wood Accents
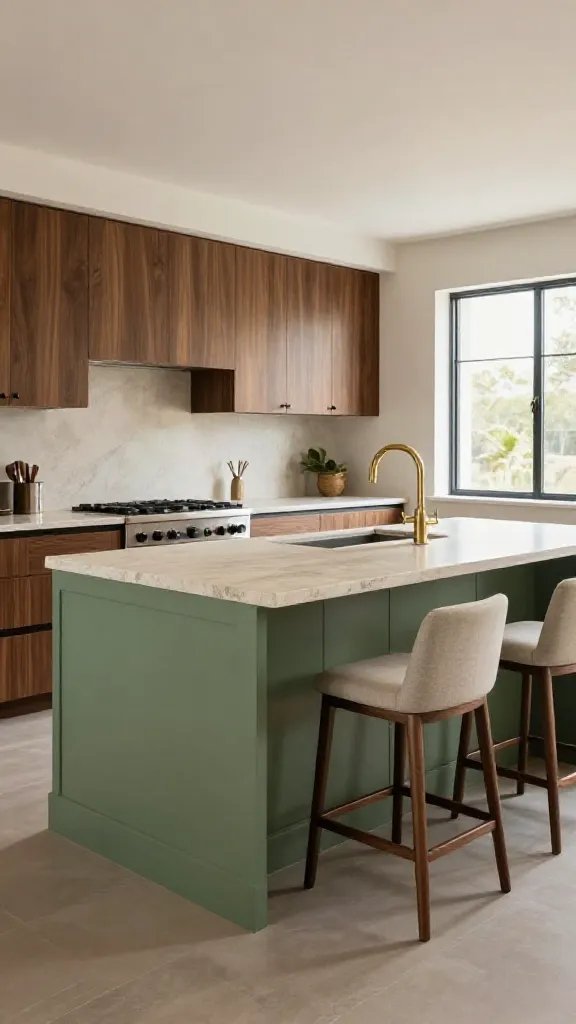
Overview: A spacious kitchen featuring a bold sage green island contrasted by deep walnut or mahogany lower cabinets. The design emphasizes a strong work zone with abundant seating and a clear path around the island.
Why This Design Works
The high-contrast pairings create a focal point that anchors the entire kitchen. The wood’s warmth minimizes the visual heft of the green and introduces an earthy, welcoming vibe.
Layout & Furniture Placement
Ensure at least 48 inches of clearance around the island for doors and drawers to swing freely; a 6-foot-long island allows for seating on one side and prep space on the other.
Color Palette
Primary: sage green for island; Secondary: warm dark wood cabinetry; Accent: brushed brass hardware; Countertop: light neutral stone.
Materials & Textures
Solid wood island base, quartz or granite countertop, natural fiber stools, matte brass fixtures.
What You’ll Need
- 6-foot sage green island with seating for 3
- Dark wood lower cabinets (walnut, wenge, or similar)
- Brushed brass hardware
- Light-colored stone countertop
- Pendant lighting above the island
Shopping List
- Wood veneer panels for cabinet fronts
- Oil-based or water-based protective finish for wood
- Matte brass pendant lights
Estimated Budget
Estimated Budget: Around $3,000-$6,500 depending on whether you replace cabinets and countertops.
What to Avoid
What to Avoid: Too-dark flooring that closes in the room; balance with lighter countertops and walls.
Design Highlights
A strong central island becomes the heart of the kitchen, guiding traffic and social activity while delivering practical prep space.
4. Mint Green Accent Wall with Natural Wood Shelving
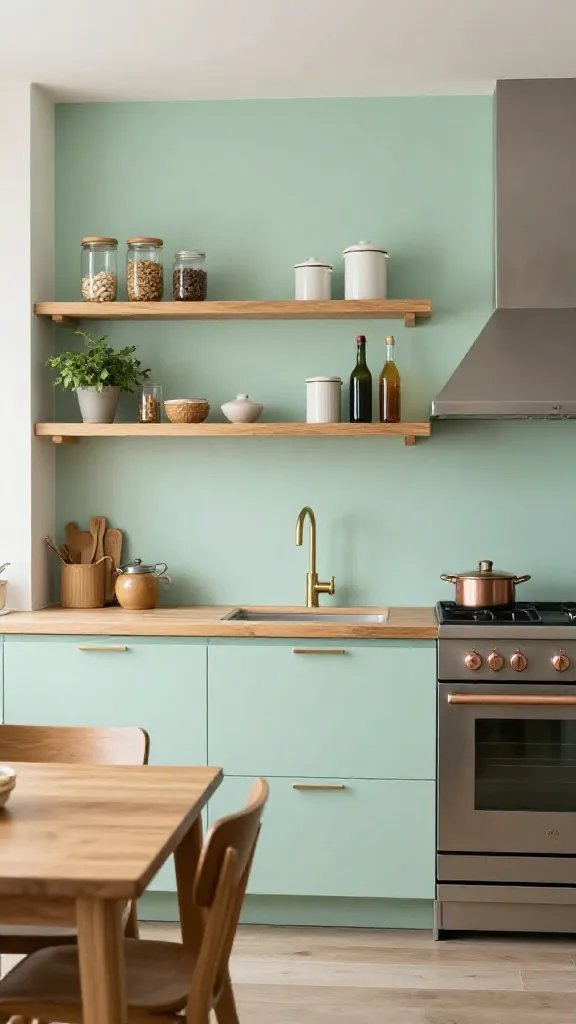
Overview: A bright kitchen featuring a soft mint green accent wall opposite the main cooking zone, paired with sturdy oak shelving and warm-toned accessories. Open shelves display everyday staples and a few decor pieces for personality without clutter.
Why This Design Works
Mint green is fresh and contemporary, while wood shelves keep the room feeling grounded. The open shelving reduces bulk and adds visual weight where you want it most—at the cooking hub and dining area.
Layout & Furniture Placement
Place primary work zones along one wall with a utilities strip (outlet, knife block, and small appliances) nearby. Install shelves 12-18 inches deep with 54-60 inches of vertical clearance between shelves for easy access.
Color Palette
Primary: mint green; Secondary: light oak; Accent: black hardware and matte white countertops.
Materials & Textures
Oak shelving, ceramic or stone tile backsplash, matte black hardware, and a durable laminate or quartz countertop.
What You’ll Need
- Mint green wall paint
- Oak wall-mounted shelves
- Black metal brackets
- Quartz or composite countertop
- Barrier-free toe-kick lighting (under-shelf lighting)
Shopping List
- Wall-mount brackets in black metal
- Pendant light in matte black
- Storage jars in glass with wood lids
Estimated Budget
Estimated Budget: Around $800-$1,600 for shelves, paint, and lighting upgrades.
What to Avoid
What to Avoid: Shelves that are too deep or crowded with items; aim for a curated display.
Design Highlights
Open shelving keeps the kitchen lively and accessible, while the mint wall adds a cheerful backdrop that works with most wood tones.
5. Olive Green Cabinets with Warm Hickory Counters
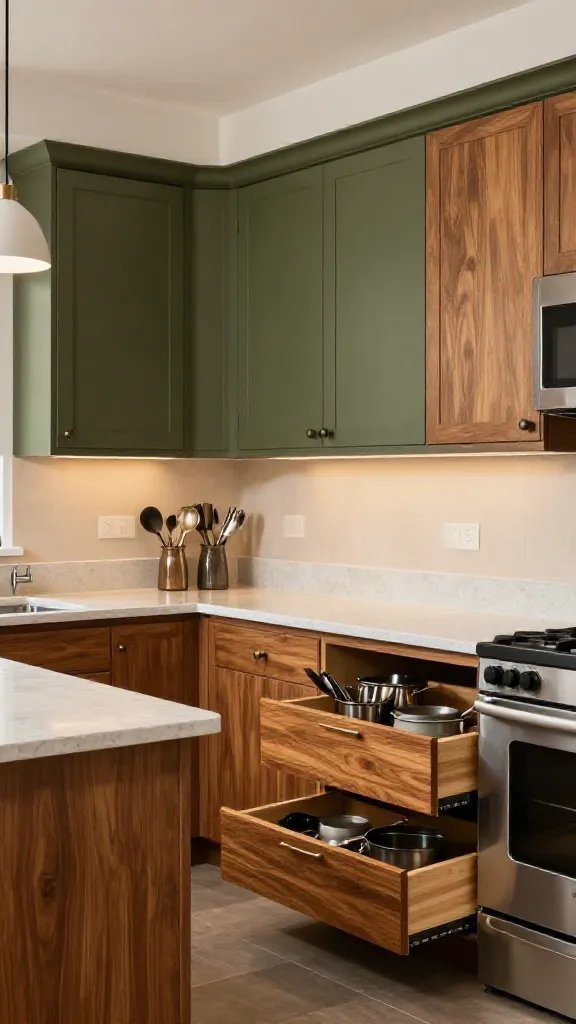
Overview: A mid-sized kitchen with olive green uppers and warm hickory counters, creating a strong color story that remains versatile for decades. The layout prioritizes a clear work triangle and plenty of drawer storage for utensils and cookware.
Why This Design Works
Olive green reads as earthy and timeless, pairing beautifully with the caramel tones of hickory. The combination offers a sophisticated look that remains practical for busy daily use.
Layout & Furniture Placement
Place the sink opposite the range with the fridge at the end of the work triangle; consider a 36-inch-wide dishwasher and 30-inch base cabinets to maintain a smooth flow.
Color Palette
Primary: olive green; Secondary: warm hickory; Accent: pale gray walls; Countertop: creamy quartz.
Materials & Textures
Hickory wood, laminate or stone countertop, satin nickel hardware, soft-close drawers.
What You’ll Need
- Olive green cabinet doors (upper or lower)
- Hickory countertop
- Soft-close drawer slides
- Brushed nickel hardware
- Light gray wall color
Shopping List
- Hickory veneer panels
- Oil finish for wood surfaces
- Quartz countertop in warm white
Estimated Budget
Estimated Budget: About $2,000-$5,000, depending on cabinet changes and countertop material.
What to Avoid
What to Avoid: Too much contrast between wall color and cabinet finish; aim for a cohesive, softened contrast.
Design Highlights
The olive and warm wood combo feels both current and enduring, ideal for cooks who value both function and personal style.
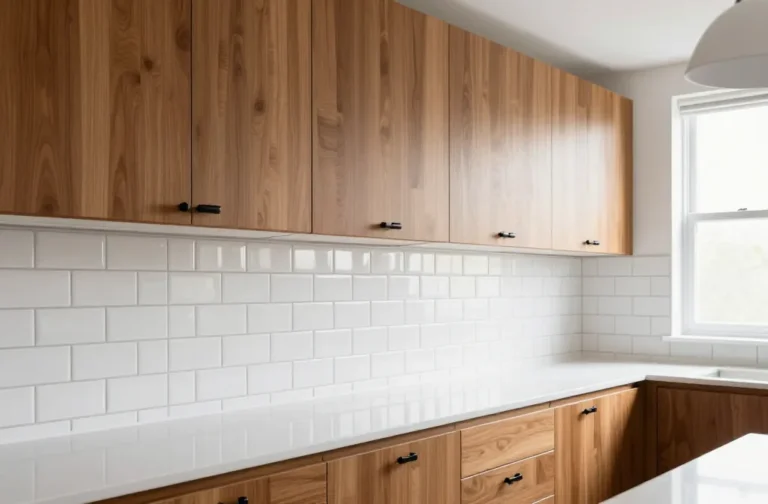
6. Classic White Wood Counter Kitchen with Sage Accents
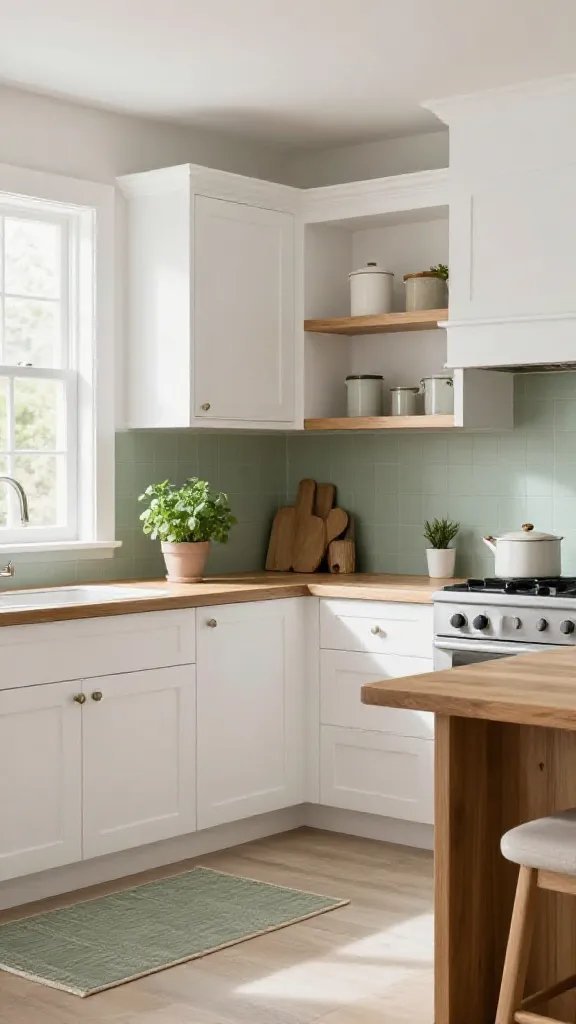
Overview: A timeless white-and-wood kitchen that uses sage accents for a touch of nature. Substantial base cabinets in white keep the space bright, while warm wood counters and shelves introduce warmth and texture.
Why This Design Works
White cabinetry makes kitchens feel bigger and brighter, while natural wood counters keep the room from feeling sterile. Sage accessories unify the space and introduce an organic softness.
Layout & Furniture Placement
A traditional U- or L-shaped layout works well here, with the sink centered under a window or light-filled wall. Maintain at least 42 inches of clearance between opposing counters for comfortable movement.
Color Palette
Primary: white cabinetry; Secondary: warm wood counters; Accent: sage green textiles and decor; Countertop: light stone or quartz.
Materials & Textures
Solid wood countertops, white-painted cabinetry, soft-close hardware, natural fibers for textiles.
What You’ll Need
- White cabinets with wood counters
- Beacon-safe stone or quartz countertop
- Greenery or sage textiles
- Under-cabinet lighting
- Simple white ceramic backsplash
Shopping List
- Clear glass jars for pantry storage
- Matte-nickel hinges and hardware
- Flooring in warm neutral tone
Estimated Budget
Estimated Budget: Around $3,000-$7,000 depending on the scope of cabinet updates and countertop choices.
What to Avoid
What to Avoid: Overly busy grout lines or patterned backsplashes that compete with the simplicity of white and wood.
Design Highlights
Bright white surfaces and the warmth of wood create a versatile canvas for living spaces that blend kitchen tasks with everyday living.
7. Dutch Green Cabinets with Reclaimed Wood Island
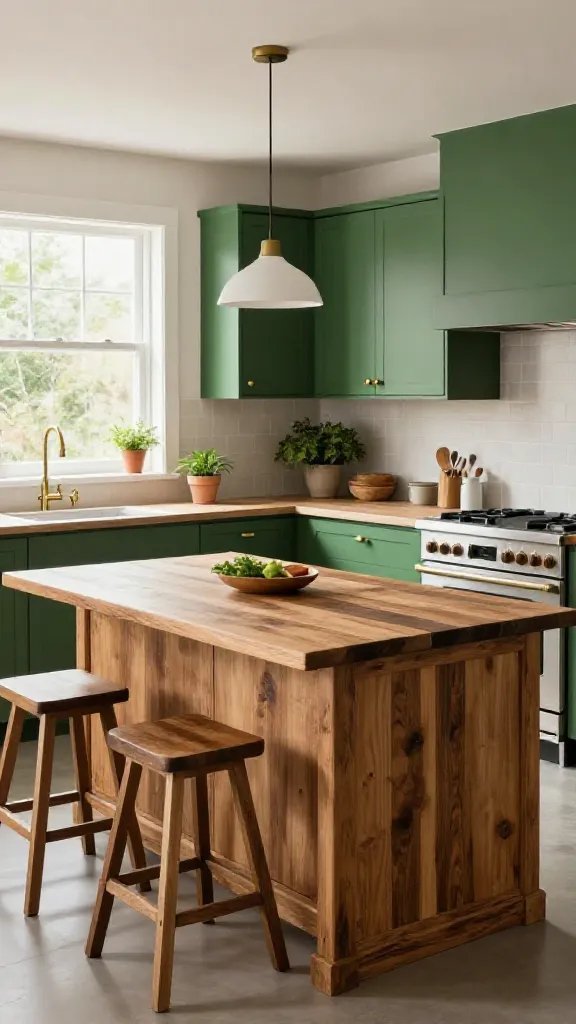
Overview: A bold, sustainable kitchen where Dutch green cabinets pair with a reclaimed wood island, creating a rustic-modern fusion. The layout centers around a generous island that doubles as a prep area and casual dining spot.
Why This Design Works
Reclaimed wood brings history and texture, while green cabinets offer a contemporary twist. The island anchors the room and provides essential counter space and storage.
Layout & Furniture Placement
Keep a clear working triangle with a 42-inch clearance around the island; situate the sink along one wall and the range on the opposite side for efficient workflow.
Color Palette
Primary: Dutch green; Secondary: warm reclaimed wood tones; Accent: matte black hardware; Countertop: light concrete or quartz.
Materials & Textures
Reclaimed wood island, solid color cabinets, metal hardware, stone or resin countertop.
What You’ll Need
- Dutch green cabinet doors
- Reclaimed wood island
- Matte black hardware
- Durable countertop material
- Industrial-style pendant lighting
Shopping List
- Reclaimed wood countertop extension boards
- Black metal brackets for open shelving (optional)
- Concrete-look backsplash tiles
Estimated Budget
Estimated Budget: Around $4,000-$9,000 depending on cabinet modifications and island size.
What to Avoid
What to Avoid: Shelving or cabinets with too many reclaimed elements that create visual chaos; keep lines clean and balanced.
Design Highlights
The mix of modern green and rustic wood creates a space that feels both current and deeply rooted in craft.
8. Sage Green Breakfast Nook with Small-Scale Wood Furniture
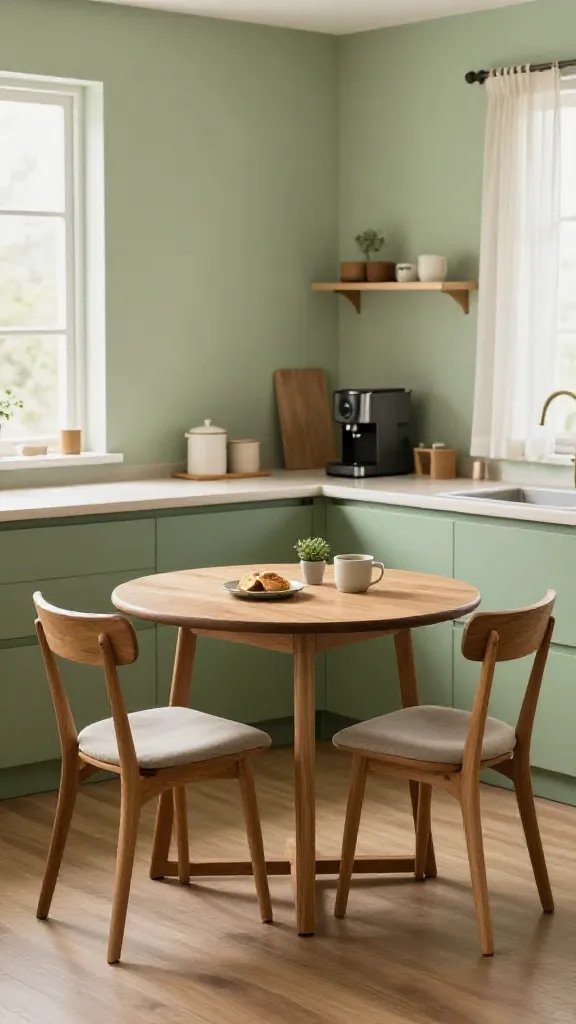
Overview: A compact, bright eat-in kitchen corner featuring a small, rounded wood table and two chairs in warm wood tones. Sage walls and a light, easy-to-clean surface keep the area welcoming for morning coffee and quick meals.
Why This Design Works
A cozy breakfast nook makes good use of corner space and adds a social aspect to the kitchen. The combination of soft green and wood creates a relaxed, uplifting atmosphere.
Layout & Furniture Placement
Place a 36-inch round or oval table with 2-3 chairs along a sunny wall; ensure at least 42 inches of clearance for comfortable seating and movement around the table.
Color Palette
Primary: sage green; Secondary: light wood; Accent: white or cream; Seat cushions in muted natural fabrics.
Materials & Textures
Wood table and chairs, simple fabric seats, ceramic dishware, light linen textiles.
What You’ll Need
- Small wood dining set (2-4 seats)
- Two fabric cushions in natural fiber
- Greenery in a ceramic pot
- Soft white curtains or shades
- Durable, wipe-clean tabletop
Shopping List
- Round dining table with pedestal base
- Wooden dining chairs with simple silhouette
- Durable seat cushions
Estimated Budget
Estimated Budget: Around $500-$1,200 for a small breakfast nook refresh.
What to Avoid
What to Avoid: A table that’s too large for the corner; ensure you can walk around it easily.
Design Highlights
Casual, family-friendly, and low-maintenance—perfect for daily meals and quick gatherings.
9. Emerald Green Wall Paneling with Light Oak Cabinets
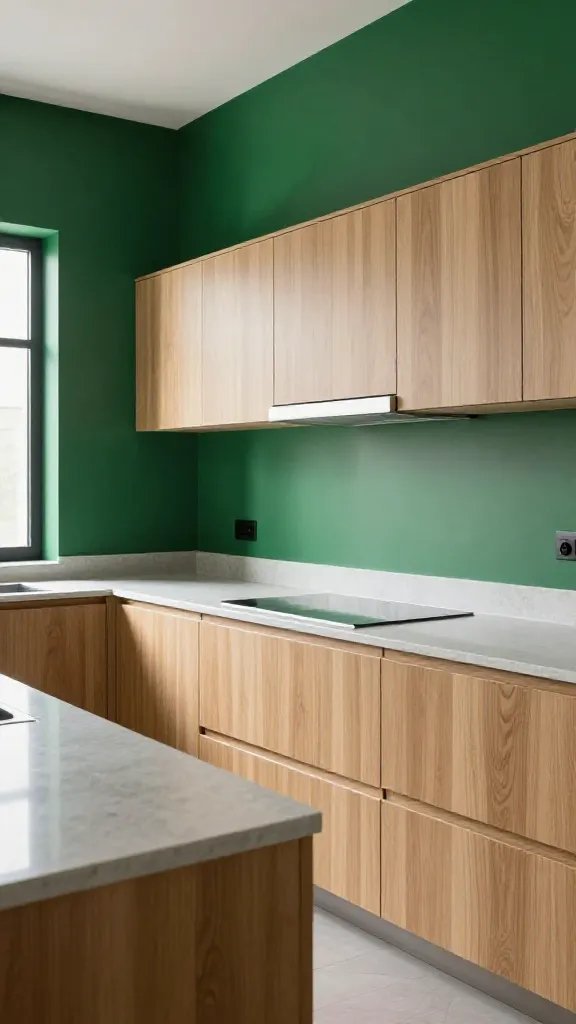
Overview: A premium feel kitchen with emerald green wall paneling paired with light oak cabinets and a sleek, durable countertop. The panels create depth and texture, while light oak softens the mood with warmth and a natural glow.
Why This Design Works
Paneling adds architectural interest and visual depth that paint alone cannot achieve. The light oak keeps the room airy and complements the green without overpowering it.
Layout & Furniture Placement
Place the main cooking zone along a single wall and use the paneling to highlight the backsplash area. Maintain a 36- or 42-inch walkway around the main work zone.
Color Palette
Primary: emerald green wall paneling; Secondary: light oak cabinetry; Accent: charcoal countertop; Fixtures in brushed brass.
Materials & Textures
Wood paneling, oak cabinetry, quartz countertop, glass tile backsplash with a subtle pattern.
What You’ll Need
- Emerald green wall paneling or beadboard
- Light oak cabinets
- Quartz countertop
- Brushed brass lighting fixtures
Shopping List
- Beadboard panels
- Wood filler and smoothing compounds
- Beige or gray floor tiles
Estimated Budget
Estimated Budget: Around $5,000-$12,000 depending on paneling scope and cabinet updates.
What to Avoid
What to Avoid: Overly glossy finishes that clash with the traditional paneling; keep finish matte or satin.
Design Highlights
Texture-rich paneling creates a refined, timeless kitchen with a modern edge when paired with the soft warmth of oak.
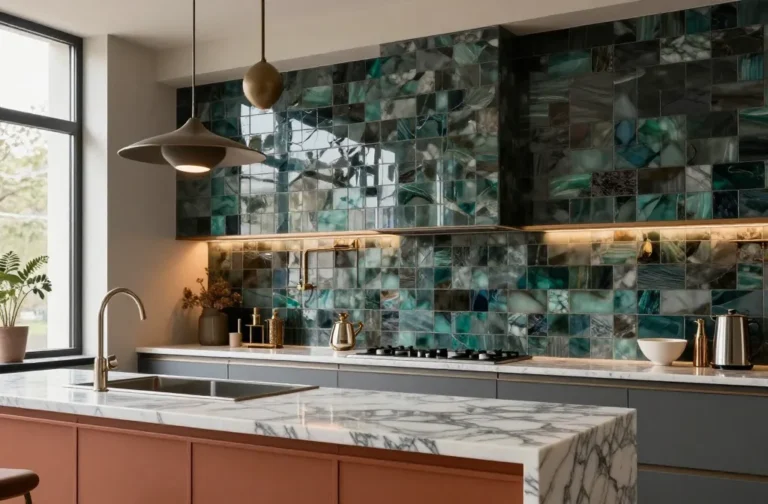
10. Forest Green Backsplash with Floating Wood Shelves
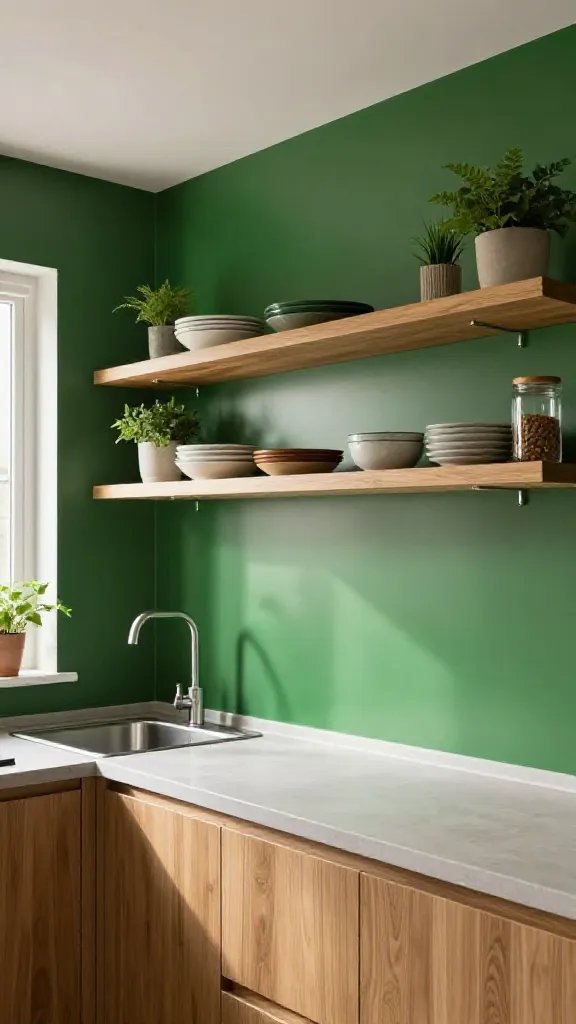
Overview: A bright kitchen where a forest green backsplash acts as a color statement, complemented by slim floating wood shelves for practical storage and display. The shelves float above a durable countertop, keeping the work surface free of clutter.
Why This Design Works
The bold backsplash sets the room’s tone, while floating shelves provide the perfect display for everyday dishes and plants, keeping everything reachable but visually organized.
Layout & Furniture Placement
Line the main work area with the sink and stove along a single wall; install floating shelves 18 inches deep with 60 inches of vertical spacing between the bottom shelf and the countertop for easy access.
Color Palette
Primary: forest green backsplash; Secondary: warm wood shelves; Accent: white countertops and walls.
Materials & Textures
Glass or ceramic tile, oak or ash shelves, matte hardware, and a solid surface countertop.
What You’ll Need
- Forest green tile or glass backsplash
- Floating wood shelves
- Hardware in warm metal
- Bright white countertop
- Greenery or small potted herbs
Shopping List
- Backsplash tiles in forest green
- Floating shelf brackets
- Clear or frosted glass jars for pantry storage
Estimated Budget
Estimated Budget: Around $1,200-$2,800 for backsplash, shelves, and hardware.
What to Avoid
What to Avoid: Shelves that are too deep or heavy-leaded items that visually weigh the backsplash; keep shelves light and strategic.
Design Highlights
The green backsplash is a focal point that breathes life into the kitchen, while the wood shelves keep everything grounded and accessible.
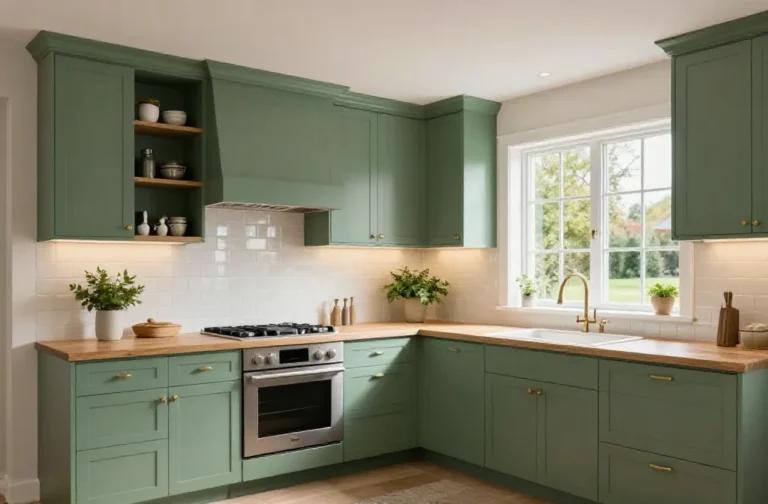
11. Low-Gloss Green Cabinets with Brushed Steel Accents
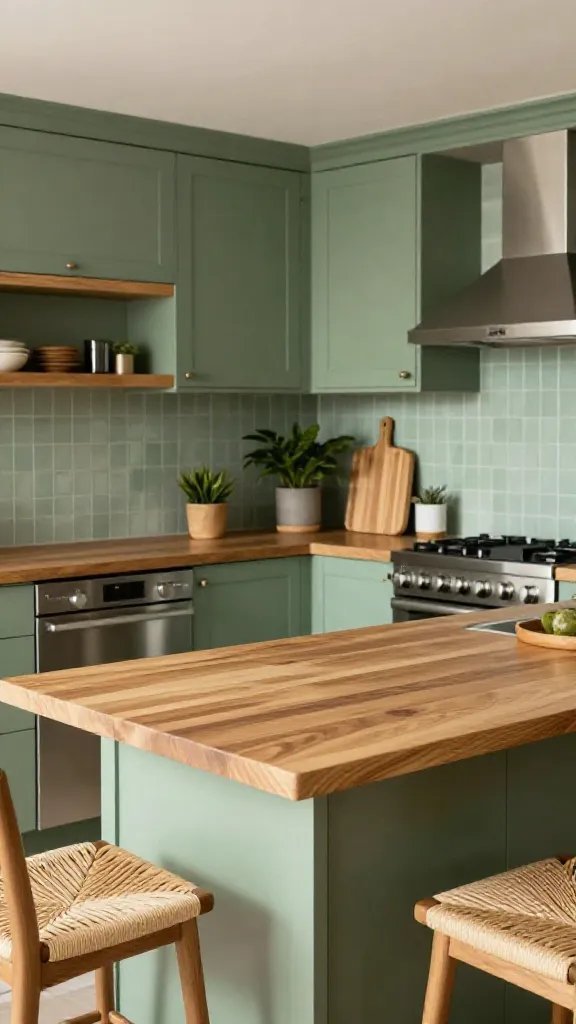
Overview: A refined kitchen with gray-green, low-sheen cabinets paired with brushed steel appliances and warm wood countertops. The result is a sophisticated space that reads modern, calm, and durable.
Why This Design Works
Low-gloss finishes resist fingerprints and maintain cleanliness, while steel accents stay in harmony with the wood for a balanced, contemporary look.
Layout & Furniture Placement
Maintain a straightforward U-shape or L-shape layout to ensure easy movement between prep, cook, and cleanup zones; allow at least 42 inches of clearance around the seating or island if included.
Color Palette
Primary: gray-green cabinets; Secondary: warm wood countertops; Accent: stainless steel appliances; Accessories in matte black.
Materials & Textures
Laminate or wood veneer cabinet doors, steel appliances, and a quartz or granite countertop with a subtle finish.
What You’ll Need
- Low-sheen green cabinet doors
- Wood countertop
- Brushed steel appliances
- Matte black hardware
Shopping List
- Stainless steel sink with clean lines
- Matte black pendant lights
- Non-slip rug for kitchen zone
Estimated Budget
Estimated Budget: Around $4,000-$9,000 depending on appliance updates and cabinet refinish.
What to Avoid
What to Avoid: Very dark countertops that create a heavy look with green cabinets; opt for lighter stone.
Design Highlights
Sleek, subtle, and sophisticated, with a kitchen that feels calm and lived-in rather than flashy.
12. Green and Wood Layered Kitchen with Textile Accents
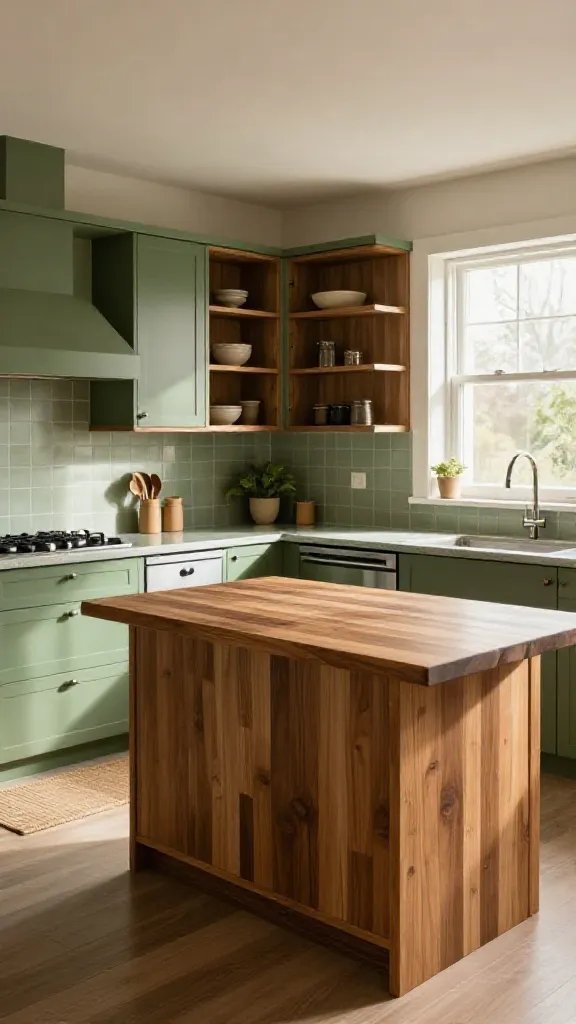
Overview: The final concept layers green walls, wood cabinetry, and several textiles—curtains, chair cushions, a rug—into a cohesive, warm, inviting kitchen. The textiles soften the geometry of cabinets and counters, making the space feel approachable and comfortable for daily use.
Why This Design Works
Textiles add softness, echo natural hues, and absorb sound in a busy kitchen. The layering approach helps balance color, texture, and light, creating a more welcoming space for everyday life.
Layout & Furniture Placement
Keep a straightforward workflow with a single-wall or small island; incorporate textiles in seating, window treatments, and a small rug to define dining or sitting zones. Ensure at least 40 inches of walking space around the island or table.
Color Palette
Primary: sage green walls; Secondary: natural wood cabinetry; Accent: textiles in olive, cream, and soft gray; Countertop: light beige or off-white.
Materials & Textures
Wood surfaces, linen or cotton textiles, ceramic or woven baskets, jute rug, and a durable countertop material.
What You’ll Need
- Textile curtains or shades
- Rug with natural fibers
- Wood dining chairs or stools
- Textured cushions or seat pads
- Potted herbs or greenery
Shopping List
- Jute or rug in natural fibers
- Natural linen curtains
- Wood dining chairs with soft upholstery
Estimated Budget
Estimated Budget: Around $1,200-$3,000 depending on the scale of textiles and whether you replace furniture.
What to Avoid
What to Avoid: Too many patterns clashing at once; keep textiles coordinated with the main palette.
Common Mistakes With Green and Wood Kitchen Ideas
Gaining Too Much Contrast Without Balance
The wrong combination of deep greens with loud hardware can feel heavy. Balance bold greens with lighter woods and softer lighting to maintain warmth.
Overcrowding the Space with Accessories
Too many decorative items make a green-and-wood kitchen feel busy and chaotic. Favor a few well-chosen pieces that have purpose and display a clean, airy vibe.
Ignoring Measurements and Movement
Small kitchens especially need careful planning. Ensure clear walking paths and functional work triangles so the space remains practical, not pretty on paper alone.
Budget-Friendly Green and Wood Kitchen Ideas Tips
Smart Reuse and DIY Upgrades
Refinish existing cabinets in a green hue, swap out hardware for warmer metals, and add wood countertops or butcher-block surfaces where affordable.
Secondhand Finds with Big Impact
Look for reclaimed wood for islands or shelving and repaint vintage cabinets in a durable green shade for a unique, budget-friendly focal point.
Paint and Lighting First
A fresh coat of paint and improved lighting can dramatically alter the mood of the kitchen without removing cabinets or countertops.
Pro Designer Tips
Think in Layers of Texture
Combine matte finishes on cabinets with glossy countertops and natural textiles to create depth and interest without clutter.
Balance Scale and Proportion
When you introduce a large green island, scale the surrounding cabinets and seating so the room doesn’t feel overwhelmed by color or bulk.
Highlight the Focal Point with Lighting
Use pendant or under-cabinet lighting to emphasize your island or a green accent wall, ensuring the room remains welcoming and well-lit during activities.
FAQs About 12 Green and Wood Kitchen Ideas
Is green a good color for small kitchens?
Yes, especially lighter greens. They reflect light and feel lively without making the space feel cramped when paired with light woods and plenty of white or neutral surfaces.
What woods work best with green cabinets?
Warm-toned woods like oak, beech, and maple balance green beautifully. Dark woods like walnut add depth when used as accents or islands.
How can I keep a green kitchen looking fresh?
Use satin or matte finishes, protect wood with appropriate sealants, and regularly clean with products suitable for wood and green-painted surfaces to avoid dulling finishes.
What budget changes deliver the biggest impact?
Paint refresh, updated hardware, new lighting, and upgrading a single focal piece like an island or backsplash can transform the look without a full remodel.
Do I need professional help for wood countertops?
Not always. If you’re handy, you can install prefab wood countertop panels yourself. For custom work, a cabinetmaker or contractor can ensure the finish is sealed properly against moisture.
Final Thoughts Green and wood kitchen ideas
Green and wood together create a kitchen that feels honest, welcoming, and ready for daily life. The color brings a touch of nature indoors, while wood adds comfort and durability. The key is balance—select one bold element to anchor the room and support it with lighter surfaces and practical storage. Start with a small update, like replacing cabinet hardware or painting a single wall, and let the space evolve as you live with it. Your kitchen will look and feel more like home, where cooking is easier, and gathering with loved ones is a joy.
Ready to start? Pick one simple change—paint a wall or install a couple of floating shelves—and test how the green and wood combination works in your space. You’ll gain clarity about what to tackle next, and you may discover a new favorite way to cook and entertain in a kitchen that finally feels like you.